In today’s digital era, a distinctive and memorable domain name is essential for building your online presence. Whether you’re starting a blog or a business, securing the right domain name is the first step to success. Here are 8 simple steps to guide you through the process of registering a domain for your blog or business name:
-
1. 1st Choose Name for your domain
Choosing a perfect domain name is the very much important steps for you. Make sure it’s:
-
Relevant: Reflects your blog or business’s purpose and content.
-
Remember-able: Easy to remember and spelling.
-
Short name: Avoid long names or complicated names.
-
Unique domain name: Distinctive domain name that sets you apart from competitors.
2. Check Domain Availability
Once you have a few domain name ideas, check their availability using a domain name search tool. Most domain registrars offer this service. Check your selected domain isn’t taken by any other or trademarked.
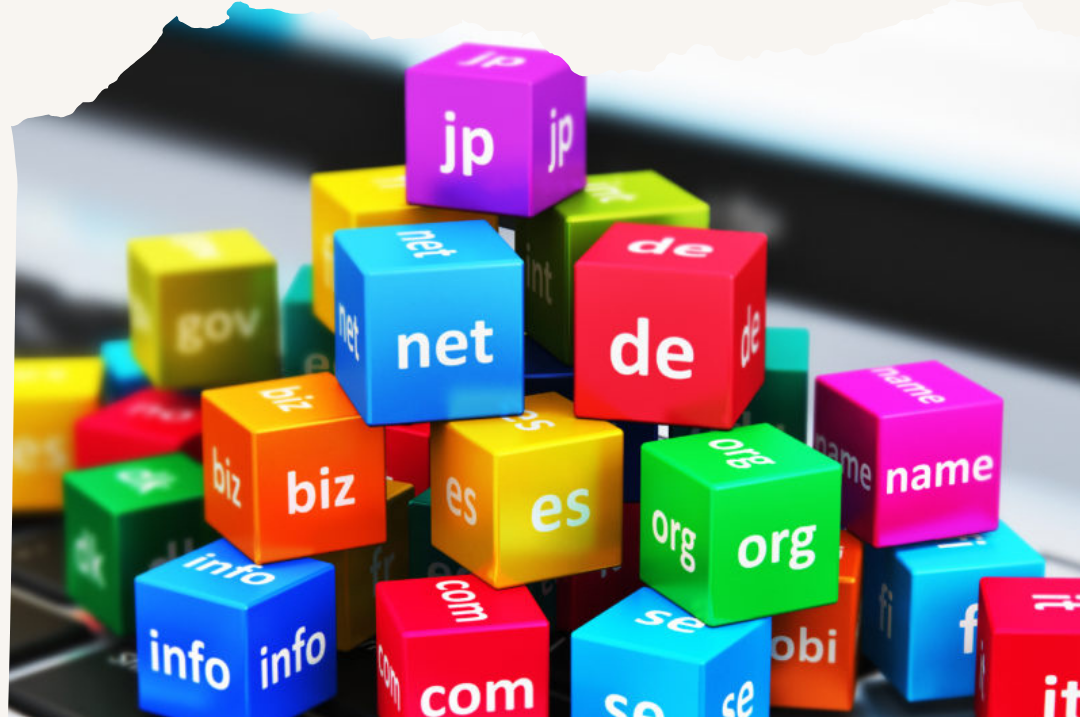
3. Select a suitable Domain Extension
Select an appropriate domain extension, also referred to as a Top-Level Domain (TLD). Popular options include:
-
.com: this domain extension name is suitable for website like business, e-commerce and blogs etc.
-
.net: Often used for tech-related sites.
-
.org: This domain extension is ideal for charities and non-profit organizations. Consider industry-specific extensions like .tech, .store, or .blog if they align with your brand.
4. Select a Domain Registrar as per price and best service
Choose a popular domain registrar to buy and manage your domain name. Popular domain registrars are given below:
-
Top first option is GoDaddy.com
-
The second option is Namecheap.com
-
The third option is Bluehost.in.
- The fourth otion is Hostinger.in
-
Google Domains Compare pricing, customer support, and additional features like privacy protection.
5. Purchase Your Domain
Once you select a registrar, go ahead to buy your domain:
-
Signup an Account: Register with the domain provider.
-
Add to Cart: Select your desired domain and add it to your cart.
-
Review and Checkout: Review the registration period (commonly 1-10 years) and complete the checkout process.
6. Select a domain privacy or theft Protection from viruses and hackers.
Most registrars offer domain privacy protection (WHOIS protection) to keep your personal information private. It will hides your contact details from the public WHOIS database, reducing spam and protecting your privacy.
7. Next to Set Up the Domain with the Hosting server.
If you haven’t already, choose a web hosting provider to host your website. Connect your domain to your hosting account by updating the DNS (Domain Name System) settings.
8. Safe and secure Your Domain with SSL (Secure Socket Layer) Certificate
Protect your business website’s or blogs security by obtaining an SSL (Secure Socket Layer) certificate. An SSL certificate encrypts data transferred between your site and its visitors, providing a secure connection. Numerous web hosting companies provide free SSL certificates.
Conclusion
Registering a domain for your blog or business is a critical step towards building your online presence. Follow these eight steps to secure a distinctive and memorable domain name that represents your brand and positions you for success. Happy domain hunting!
-